
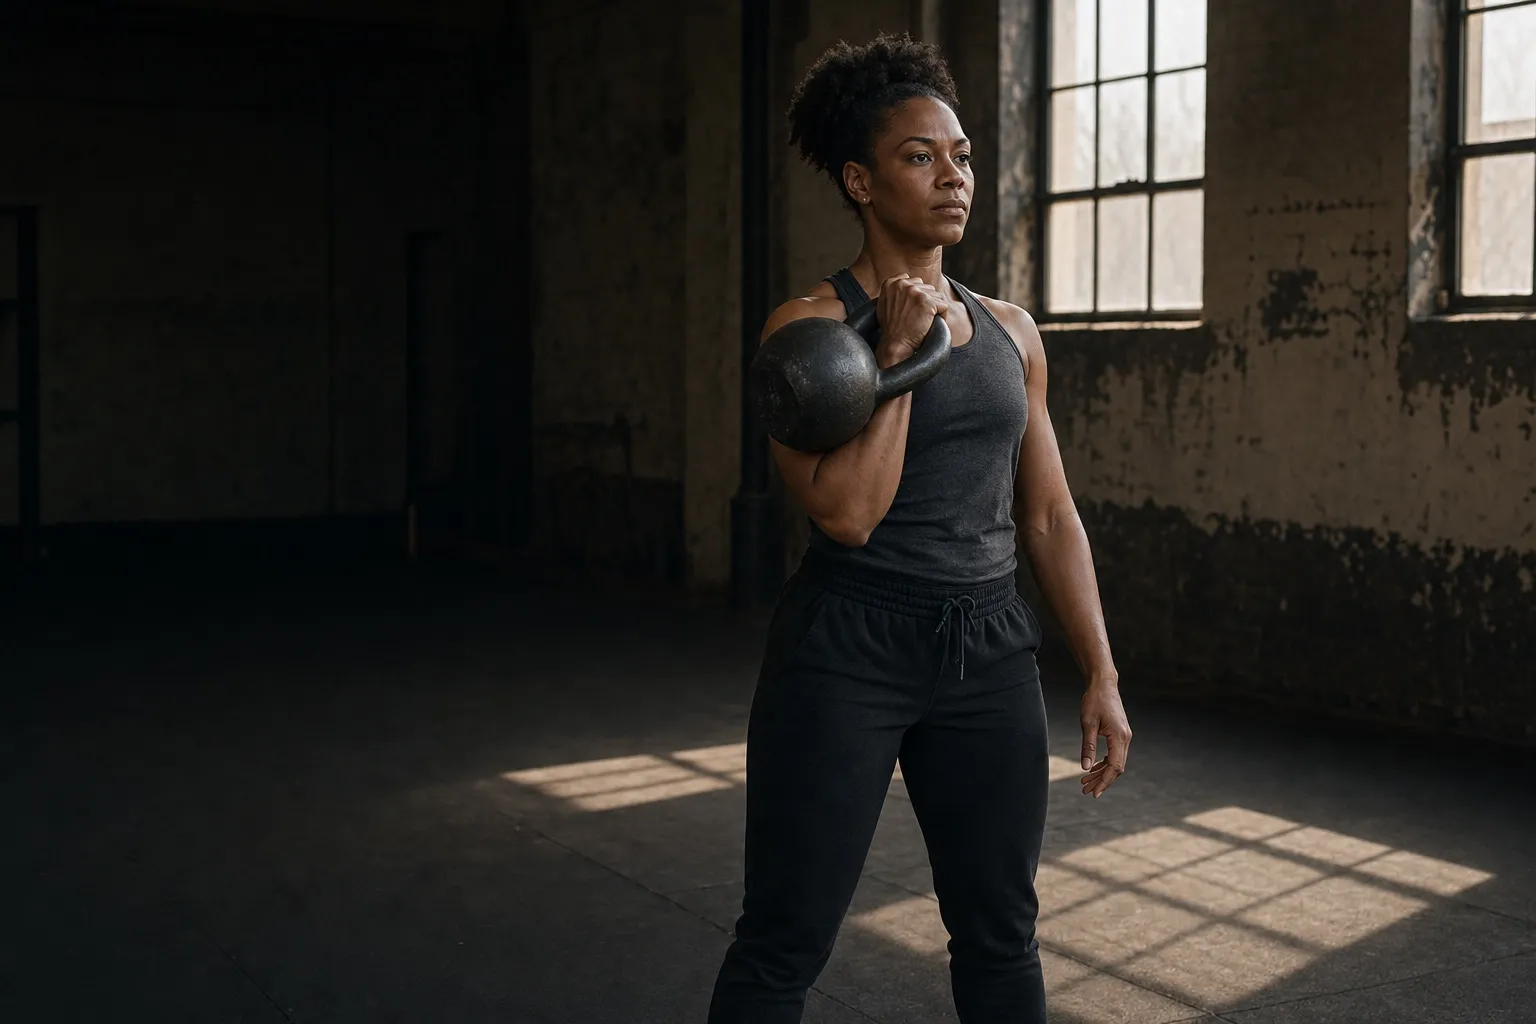
A kettlebell clean brings the bell from the backswing into the rack position in one continuous motion. The bell should wrap around your hand and settle against your forearm. It should not travel in a large arc and flip over your fist.
When a clean lands hard, the problem is usually the path or timing:
- The bell travels too far away from your body.
- You pull it too high before inserting the hand.
- You grip the center of the handle and leave no room for the hand to move.
- You wait for the bell to fall over the wrist instead of meeting the handle.
- You use more hip drive than the repetition needs.
The fix is not to tense your forearm and accept the collision. Make the path smaller. Guide the handle. Put your hand through at the moment the bell becomes light.
Know the finish before you clean
The clean ends in the rack position. Learn that position before adding speed.
Stand tall and use both hands to place a light kettlebell on one side of your chest. The handle should run diagonally across the palm, from the web between the thumb and index finger toward the heel of the hand. The bell rests against the outside of the forearm and upper arm rather than hanging from the fingertips.
Your wrist stays close to straight. The elbow sits near the ribs, but its exact location depends on your build and the bell. Keep the shoulder relaxed enough that it is not pulled toward the ear. The bell, forearm, and upper arm should feel supported as one unit.
Hold that position for 10 seconds, then use both hands to take the bell away. Repeat on both sides. If the handle forces your wrist into an awkward angle even when you place it manually, the window or body shape may not fit you well. The cast-iron and competition-style guide explains how those dimensions change the rack.
Start from a one-arm swing
The lower half of a clean begins like a one-arm swing. Set the bell slightly in front of you, hinge, grip it with one hand, and hike it high between your legs. Drive through the floor and extend the hips.
Do not use the full force you would use to send a swing to chest height. The bell only needs enough momentum to rise toward the rack. Your arm guides that energy into a close path.
If the one-arm backswing is not yet controlled, practice it before adding the catch. The guide to one-arm and two-arm swings covers the centered grip, offset load, and side-specific practice that carry into the clean.
Keep the bell close
In a swing, the bell arcs away from you before it returns. In a clean, you redirect that arc upward and back toward the body.
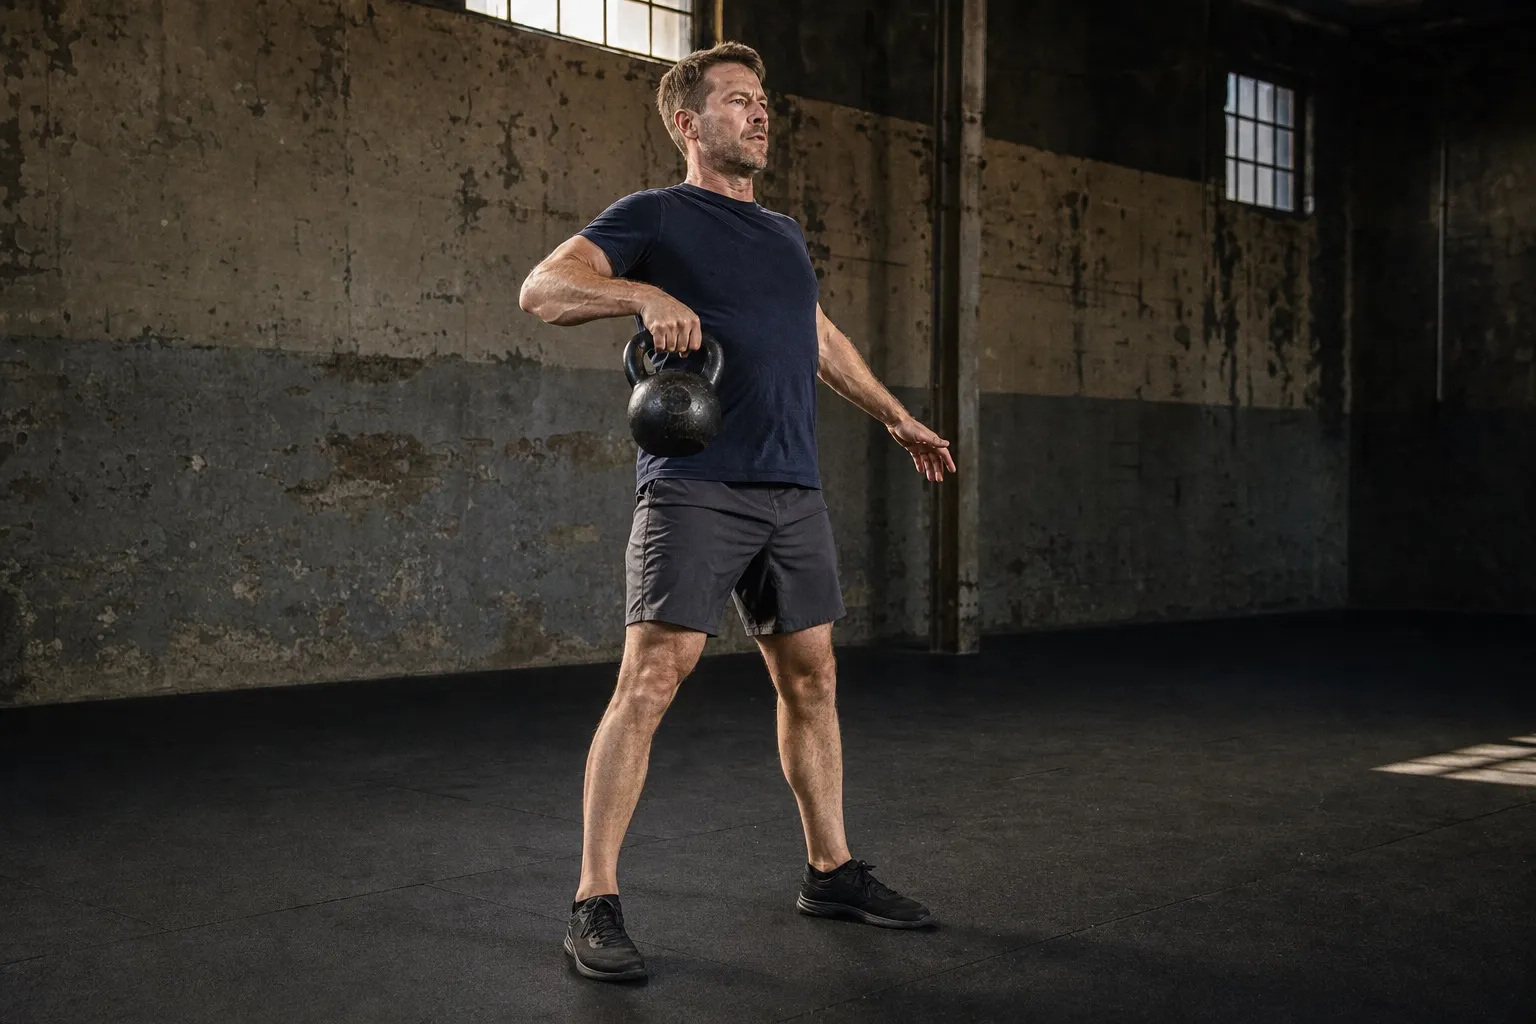
As the hips finish driving, bend the elbow and draw it behind you slightly. Think of pulling the bell along a narrow vertical path beside your torso rather than lifting it around the outside of your arm. The elbow does not need to climb toward shoulder height. It stays close enough to guide the bell toward your ribs.
The shorter path reduces the distance the bell can fall onto the forearm. If the bell is visibly far in front of your chest before it lands, the path is still too wide.
Loosen the grip and insert the hand
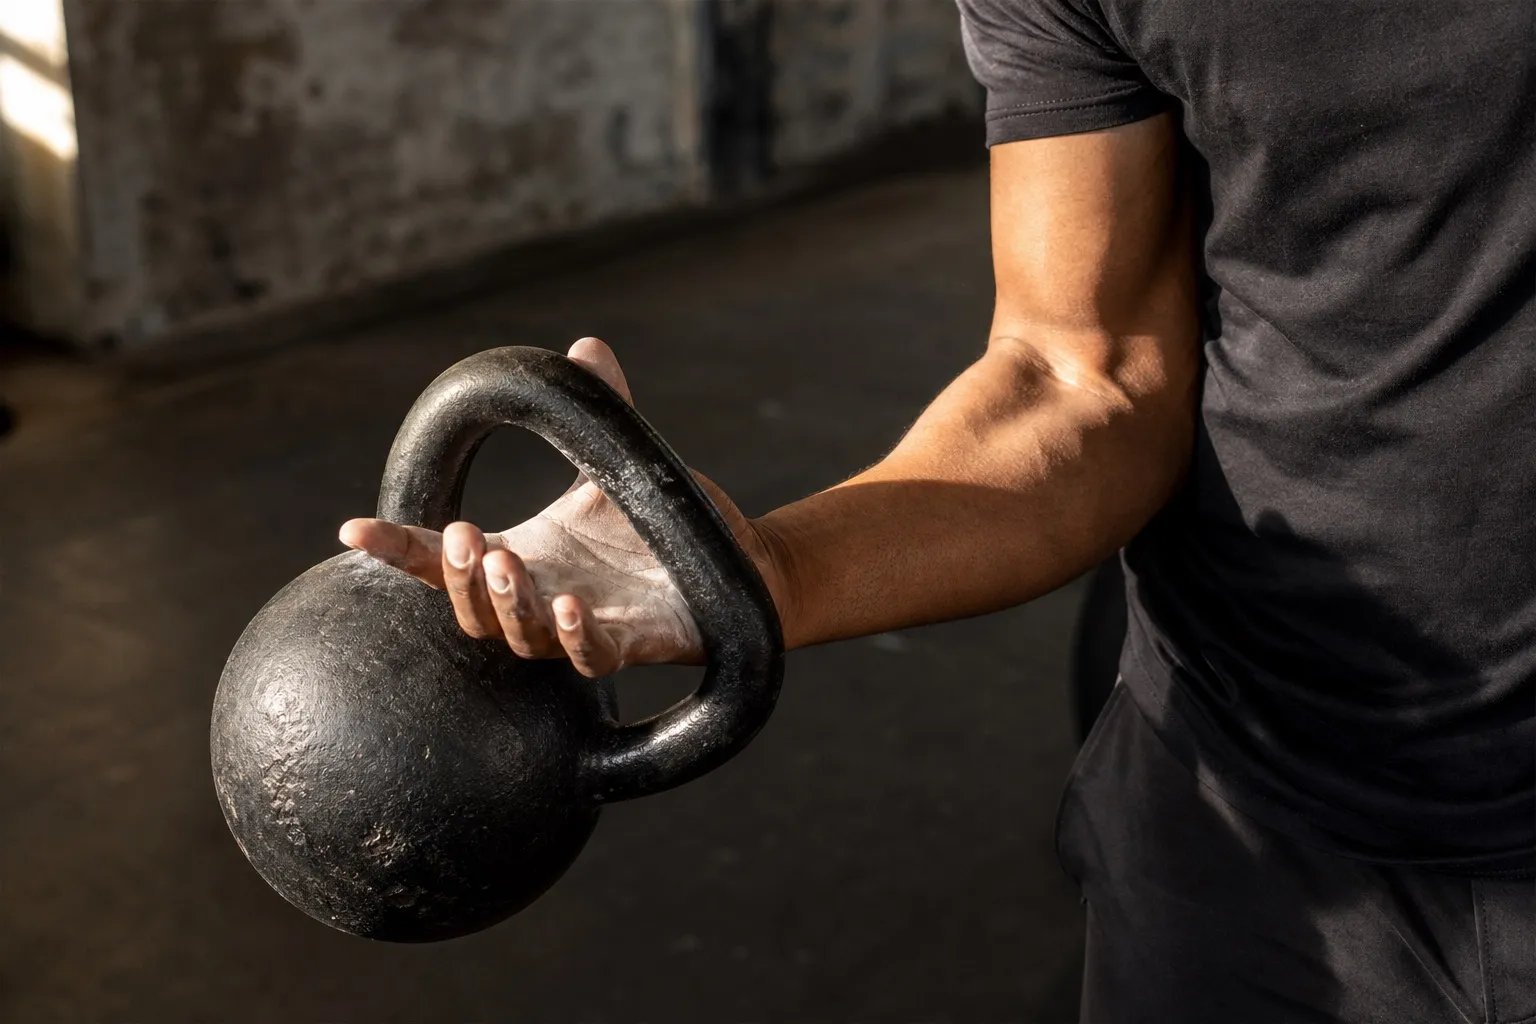
Begin with the hand slightly toward the thumb-side corner of the handle rather than centered exactly as you would for a one-arm swing. This gives the hand space to travel through the window as the bell rises.
Near the top of the pull, the bell briefly becomes light. Relax the fingers enough for the handle to move. Send the hand up and through the window as though reaching past the bell, then close the grip when the handle lies diagonally across the palm.
You are not releasing the bell. The thumb and fingers continue to guide the handle while the pressure shifts across the hand. A crushing grip locks the handle in the wrong place; a completely open hand gives up control. Use only enough grip to keep contact while the handle rotates.
The bell body should take a short route around the wrist and come to rest against the forearm. The hand moves into the bell instead of waiting underneath it.
Meet the bell instead of catching it
The clean is easier to time when you stop thinking of the rack as a catch. A catch suggests waiting for the bell to arrive. By then, gravity has already started pulling it over the hand.
Meet the handle while the bell is still rising. Finish with your forearm nearly vertical and your elbow near your side. The bell and arm arrive together, so there is little relative motion left when they touch.
Pause for one breath in the rack. Check three things:
- The wrist is close to straight.
- The handle lies diagonally rather than straight across the base of the fingers.
- The bell rests against the forearm without bouncing away and landing again.
If you cannot own that pause, reduce the load or return to a two-hand placement drill.
Return the bell to the backswing
The descent is not a slow curl. Let the bell roll out of the rack as you guide the elbow away from the ribs. Allow the handle to move from the diagonal rack grip back toward the fingers, then reconnect the bell to the backswing.
Wait until the upper arm approaches the torso before hinging. The hips move back as the bell passes high between the thighs, just as they do in a swing. Keep the bell close on the way down; dropping it straight from the rack creates a heavy pull before the hinge is ready.
For the final repetition, follow the backswing once more and guide the bell to the floor in front of you. Do not lower it from the rack with one arm after the set has already ended.
Diagnose where the impact comes from
The bell loops around the hand
If the bell makes a large circle outside your elbow, reduce the drive and pull along a narrower path. Keep the elbow closer to the body and think up, not out.
The bell drops over the fist
Your hand insertion is late. Reach through sooner, while the bell still feels light. Practice single repetitions with a pause in the rack rather than continuous sets.
The handle lands across the fingers
Move the starting hand slightly toward the thumb-side corner and push farther through the window. A diagonal handle gives the bell a broader contact area than a handle balanced at the fingers.
The wrist bends backward
Do not let the bell hang from an extended wrist. Straighten the wrist as the hand enters and bring the elbow under the load. If a manually placed rack is also awkward, test a different bell shape or a lighter weight.
The clean works on one side only
Treat the sides separately. Your stance, hand position, or timing may need a small adjustment on one side. Short sets make that difference easier to see than alternating through a long sequence.
A first clean practice session
Use a bell lighter than your normal one-arm swing weight. If you are unsure, the beginner sizing guide explains why technique work often needs a different load from hinge work.
Then practice:
- Place the bell in the rack with two hands and hold for 10 seconds per side.
- Perform 3 controlled one-arm swings per side and park the bell.
- Perform 1 clean, pause in the rack, return through the backswing, and park.
- Complete 3 single cleans per side.
- Rest 45–90 seconds, then repeat for 3 rounds.
Singles give you time to reset the hand and judge the contact. When nine quiet repetitions per side feel consistent, progress to sets of three. Add repetitions before load only if the path and rack remain unchanged.
Record the bell, repetitions, and side. A useful technique note is specific: “wide path on the left” or “late hand insertion on rep three.” Pood keeps left and right sets separate and starts the rest timer as you log, so the detail does not have to wait until the session is over.
A clean should finish quietly. Drive only as hard as necessary, keep the bell near you, and move the hand through the handle before the bell has time to fall over it. When that rack position is consistent, use the kettlebell press guide to carry it into controlled overhead work.