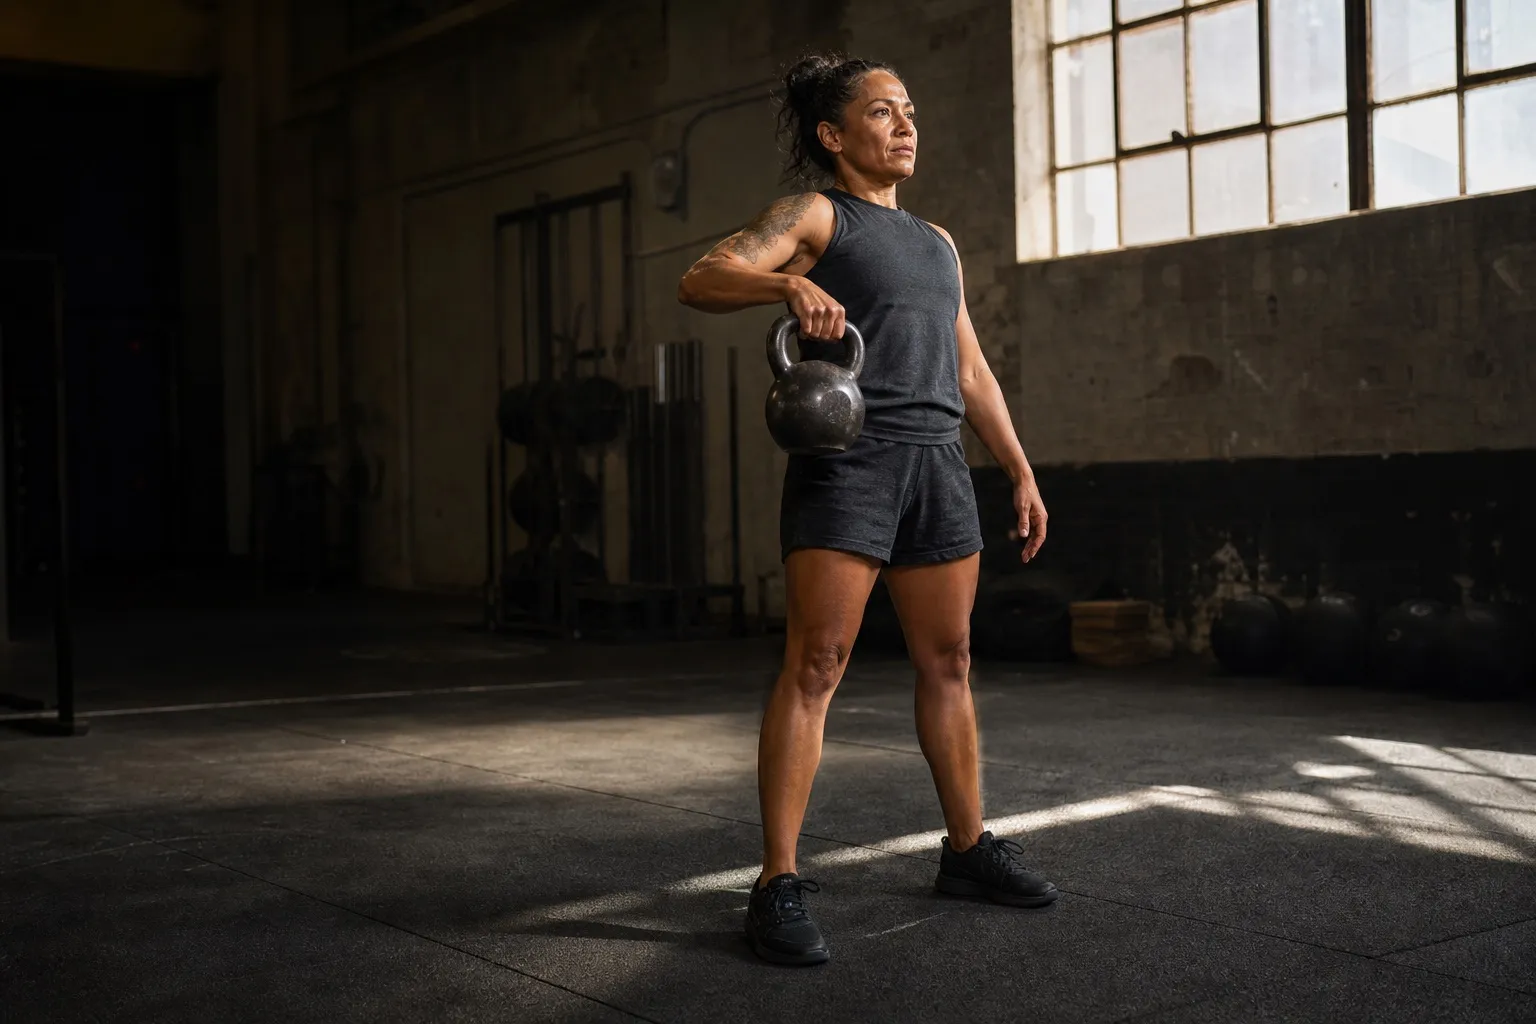
A kettlebell snatch moves the bell from the backswing to an overhead lockout in one continuous repetition. The hips create the drive. The arm keeps the bell close. The hand moves through the handle before the bell has time to flip over the wrist.
The finish can look like a press lockout, but the route is different. A press begins from a still rack and uses the arm to move the bell overhead. A snatch carries the momentum of a one-arm swing all the way to the top.
That speed makes timing more important than effort. A good snatch settles quietly overhead. A poor one follows a large arc, pulls away from you, and lands hard on the forearm.
Build the prerequisites first
Do not use the snatch to learn every part at once. Before practicing it, you should be able to:
- perform repeatable one-arm swings without the bell drifting across your body;
- guide the bell into a quiet rack with a controlled clean; and
- hold a stable overhead press lockout for several seconds per side.
The swing supplies the hinge and acceleration. The clean teaches a close path and hand insertion. The overhead hold gives the repetition a place to finish.
Use a bell lighter than your usual one-arm swing weight. Clear the space above, in front of, and behind you. The bell will travel farther than it does in a clean, and a tired repetition can drift before you notice it.
Start from a one-arm swing
Set the bell slightly in front of you, hinge, and grip the middle of the handle with one hand. Hike it high between the thighs, then drive through the floor and extend the hips.
The lower half should resemble your one-arm swing. Keep the feet planted and the torso directed forward. Let the free arm move naturally without reaching across the body.
The difference begins as the bell rises. Instead of allowing it to continue through a broad forward arc, bend the elbow and guide the bell closer to your torso. The elbow travels back and then upward while the hand stays connected to the handle.
Pull close instead of casting forward
Imagine the bell rising through a narrow corridor beside you. It should pass near the ribs and shoulder rather than floating far in front of your face.
A useful practice step is the one-arm high pull:
- Begin with a one-arm swing.
- As the bell rises, bend the elbow and draw it back.
- Keep the hand above or slightly outside the elbow.
- Let the bell become light near chest height.
- Extend the arm and return the bell to the backswing.
The high pull is not a row. The hips still provide the acceleration; the arm redirects the path. If the shoulder and elbow have to haul the bell upward after the hip drive ends, reduce the load or return to the swing.
Put the hand through before the bell falls
As the bell approaches head height, it should feel briefly light. That is the moment to move the hand through the handle.
Relax the grip enough for the handle to shift from the fingers into a diagonal position across the palm. Send the hand upward as though reaching toward the ceiling, then close the grip as the arm straightens. The bell body takes a short route around the wrist and settles behind the forearm.
Do not wait underneath a rising bell and let it roll over your fist. By the time the bell starts falling, the soft insertion window has passed. Reach through while it is still traveling upward.
You remain connected to the handle throughout. A completely open hand gives up control; a crushing grip prevents the handle from moving into the palm. Use enough grip to guide the bell, then allow the pressure to shift as the hand enters.
Finish in a stable overhead position
The repetition ends when the bell is still—not merely when the arm reaches the top.
Stand tall with the working hand above the shoulder, the elbow long, and the wrist close to straight. Keep the ribs over the pelvis and the knees straight. The bell should hang behind the hand without pulling forward or outside the shoulder.
Pause for one second. If you have to step, lean, or chase the bell with the arm, the path or load needs adjustment. Lowering immediately can hide a finish you never controlled.
Bring the bell down close
The descent should return the bell to a backswing without letting it drop through a large arc.
Begin by turning the hand slightly and pulling the elbow down. Let the bell roll around the outside of the wrist as the handle moves from the diagonal palm position back toward the fingers. Keep the bell close to the body as the arm lengthens.
Stay tall until the upper arm approaches the ribs. Then hinge and receive the bell high between the thighs. Hinging too early lets the bell pull the torso forward; waiting too long crowds the backswing.
For a single repetition, follow the backswing forward and park the bell where it started. For a continuous set, reverse the backswing into the next hip drive.
Fix the common snatch problems
The bell loops far in front
Redirect the swing sooner. Bend the elbow and guide it back as the bell rises instead of waiting until the bell is already at arm’s length. Practice high pulls until the bell can travel close without being lifted by the shoulder.
The bell hits the forearm at the top
The hand insertion is late or the arc is too wide. Reach through the handle while the bell is still rising. Use less hip drive with a lighter bell until the turnover becomes quiet.
The handle tears at the palm
A fixed, crushing grip creates friction as the handle changes position. Let the handle move from the fingers to the diagonal palm grip on the way up, then back toward the fingers on the descent. Stop the set before fatigue turns that adjustment into a slide across the skin.
The lockout drifts forward
Keep the bell path closer and finish with the hand above the shoulder. If you cannot pause without leaning or stepping, reduce the load and rebuild the overhead position separately.
The descent pulls you off balance
Pull the elbow down and keep the bell close before the arm lengthens. Stay tall until the bell approaches the body, then hinge. Do not throw the bell forward from the lockout.
A first snatch practice session
Warm up the hinge, rack, and overhead positions first. The kettlebell warm-up guide shows how to ramp without turning preparation into a second workout.
Then use a light bell and keep every repetition separate:
- Perform 3 one-arm swings per side and park the bell.
- Perform 3 quiet cleans per side and park the bell.
- Perform 3 high pulls per side and park the bell.
- Perform 1 snatch per side, pause overhead for one second, and park the bell.
- Rest 60–120 seconds and repeat for 3–5 rounds.
That gives you only three to five complete snatches per side. It is enough to practice the full path without asking tired hands to learn the turnover.
When singles land quietly, progress to sets of three per side. Add repetitions only while the hand insertion, lockout, and descent remain consistent. A long set is not the next step if the third repetition already follows a different path from the first.
Log the bell, repetitions, and side. A short note such as “wide arc on the left” or “grip tightened on rep three” gives the next session a useful starting point. Pood keeps left and right work separate and starts the rest timer as you log, so you can preserve the detail without stopping to reconstruct the set later.
The snatch is a one-arm swing redirected into an overhead finish. Drive with the hips, keep the bell close, put the hand through early, and make every repetition earn a quiet pause at the top.